Introduction
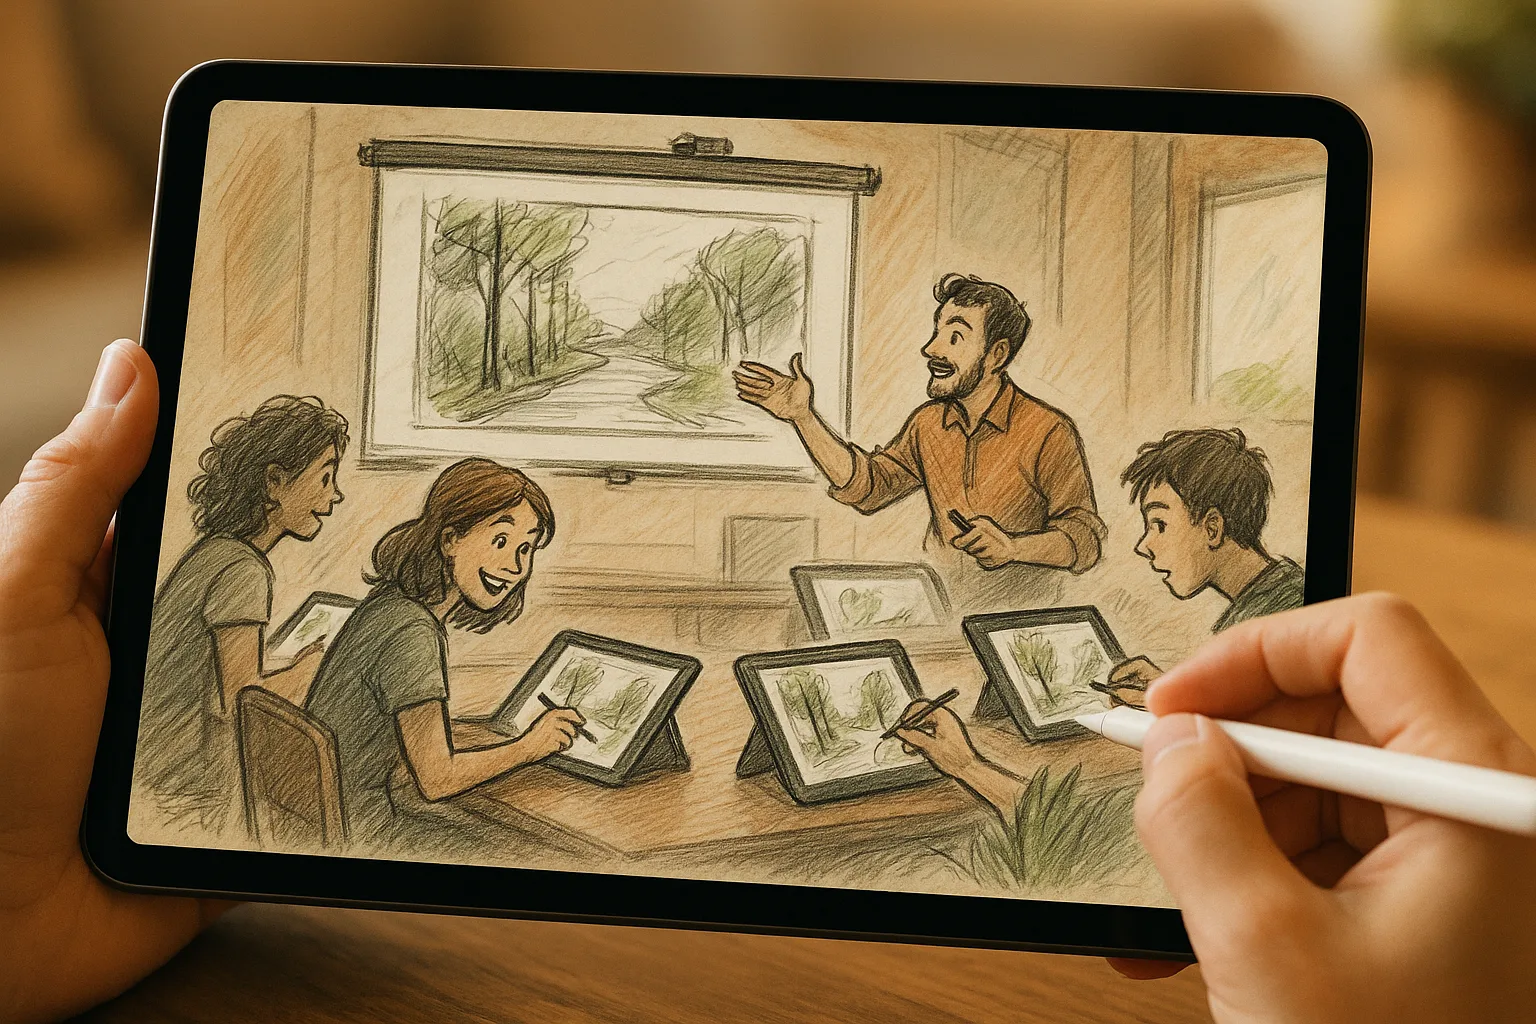
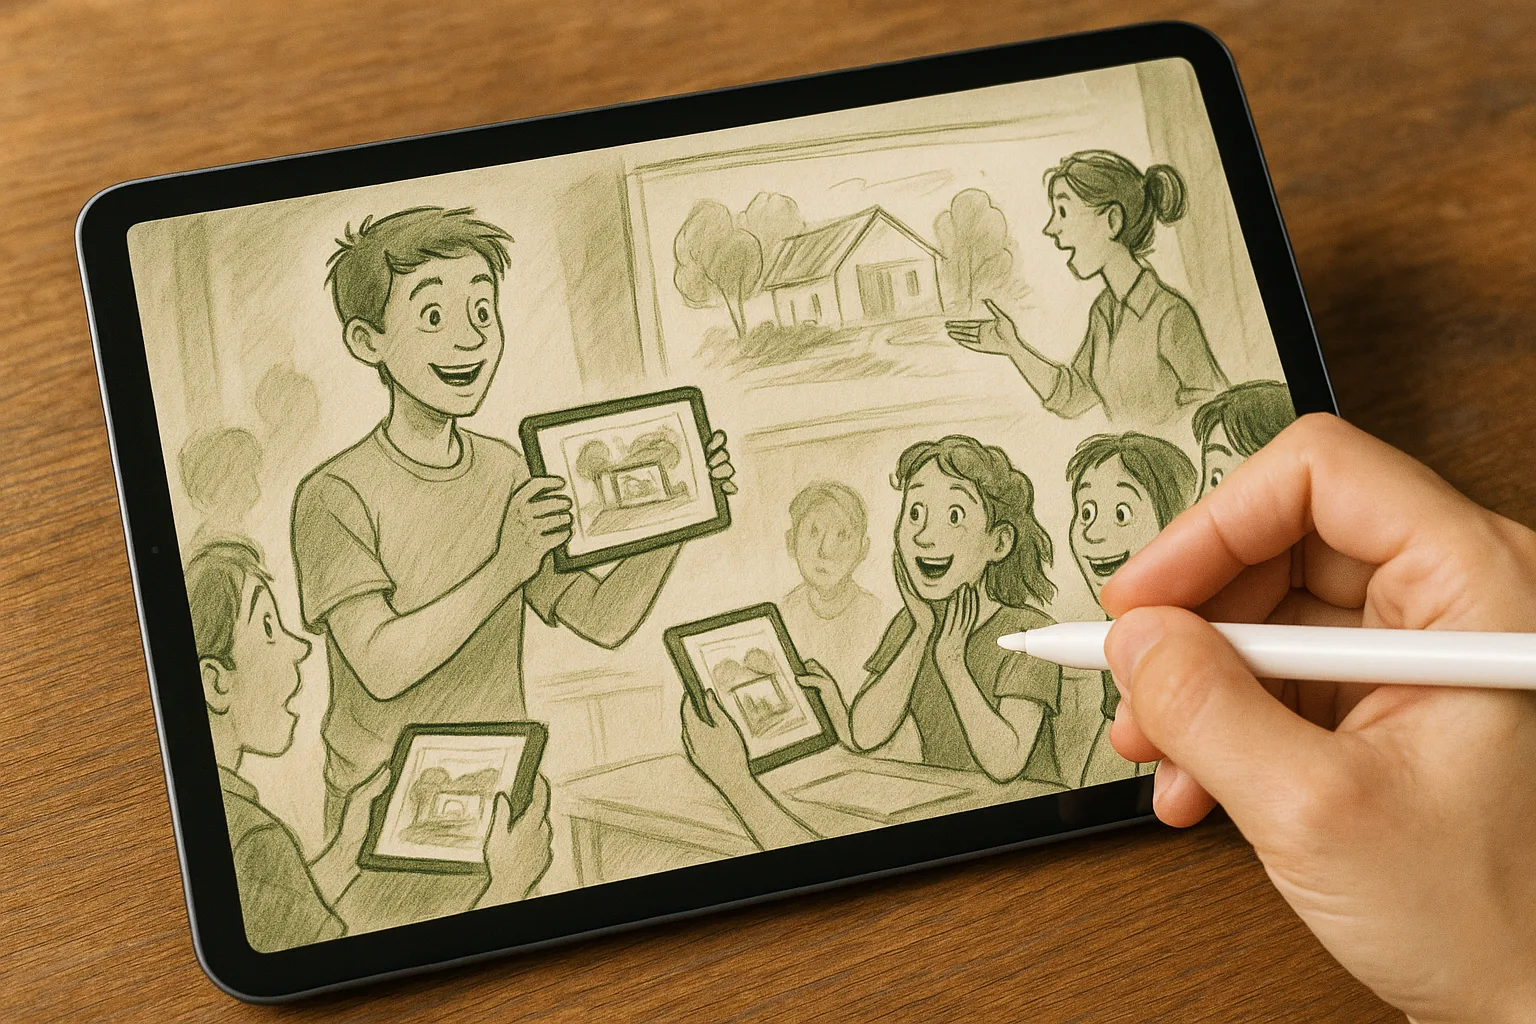
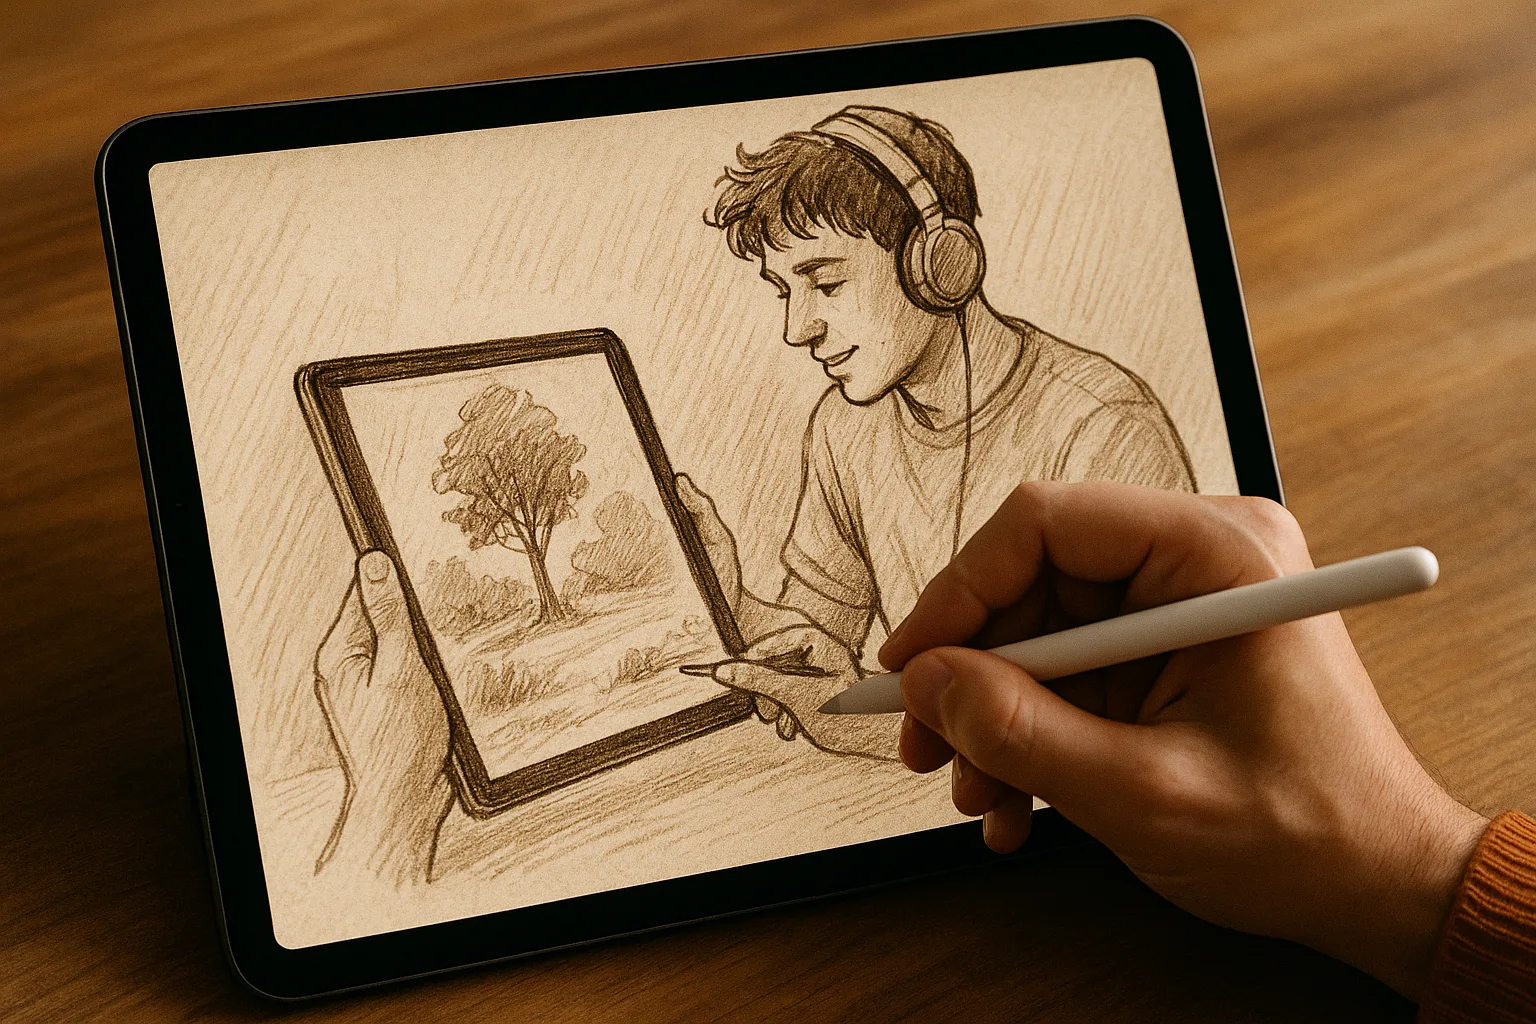
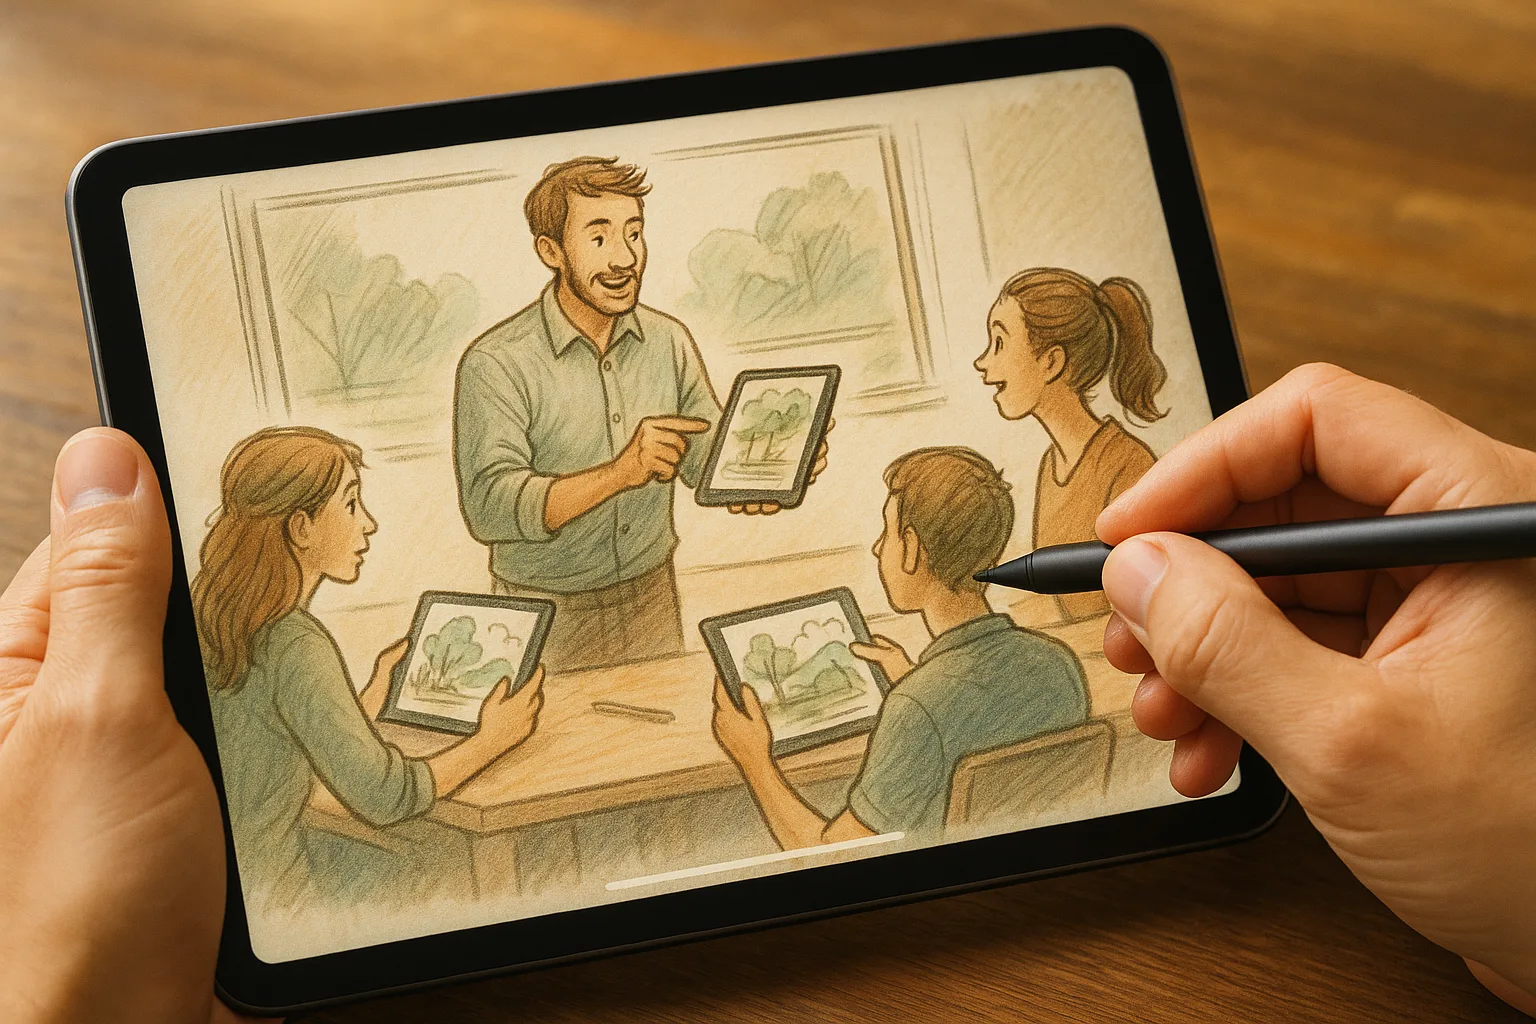
Samara — with its wide Volga embankment, the dramatic Zhiguli (Samarskaya Luka) hills, sandy beaches and a mix of historic wooden houses and Soviet-era architecture — is a perfect place to practice landscape sketching on the iPad using Procreate. This guide covers field workflow, Procreate settings and brushes, composition and color tips tailored to Samara’s landscapes, plus practical plein-air advice.
Why use iPad + Procreate outdoors
— Instant setup and fast iteration — no drying times or changing weather to worry about.
— Unlimited undo, layers, and non-destructive adjustments.
— Easy capture of transient light (golden hour, clouds) with Time-lapse and quick photos as reference.
— Lightweight kit — ideal for walking the embankment or hiking viewpoints at Samarskaya Luka.
Quick plein-air checklist
— iPad (charged) + Apple Pencil (charged) — spare tip if you have one.
— Portable battery pack and charging cable.
— Small folding stool or lightweight tripod + iPad clamp.
— Matte/anti-glare screen protector (helps outdoors).
— Lightweight sunshade or hat to reduce glare.
— Small kit bag for snacks, water, and permits.
— Weather-aware clothing (Samara winds can be chilly on the Volga).
— Offline map or notes of nearby viewpoints (embankment, Strukovsky Garden, Samarskaya Luka).
Field workflow (simple, fast, repeatable)
1. Scout & compose
— Spend 2–5 minutes choosing a viewpoint. Look for strong foreground, middle ground and distant Volga/zhiguli hills.
— Use leading lines (river bank, promenade, stairways) to guide the eye.
2. Quick thumbnails (3–5, 30–60 seconds each)
— Block out values and composition — keep it small and fast.
3. Create a field canvas in Procreate
— Recommended starter size: 3000–4000 px on the longest edge at 150–300 PPI (adjust up if you plan to print).
4. Block-in major shapes and values (10–20 minutes)
— Use a big, soft brush for color washes and a pencil brush for fast value sketching.
5. Refine on separate layers (20–40 minutes)
— Add midground/foreground detail, define architecture or cliff edges.
6. Final touches & capture
— Add small accents, adjust global color/contrast, save Time-lapse and export a PNG/JPEG for quick share.
7. Finish at home (optional)
— Bring back the file, add textures, curves and export high-res prints (PSD/TIFF).
Procreate settings & features to use
— Canvas
— Size: 3000–4000 px long edge @ 150–300 PPI for web/print balance. Increase PPI for large prints.
— Layers
— Use layers for sky / background / middle ground / foreground / details.
— Use clipping masks for controlled shading