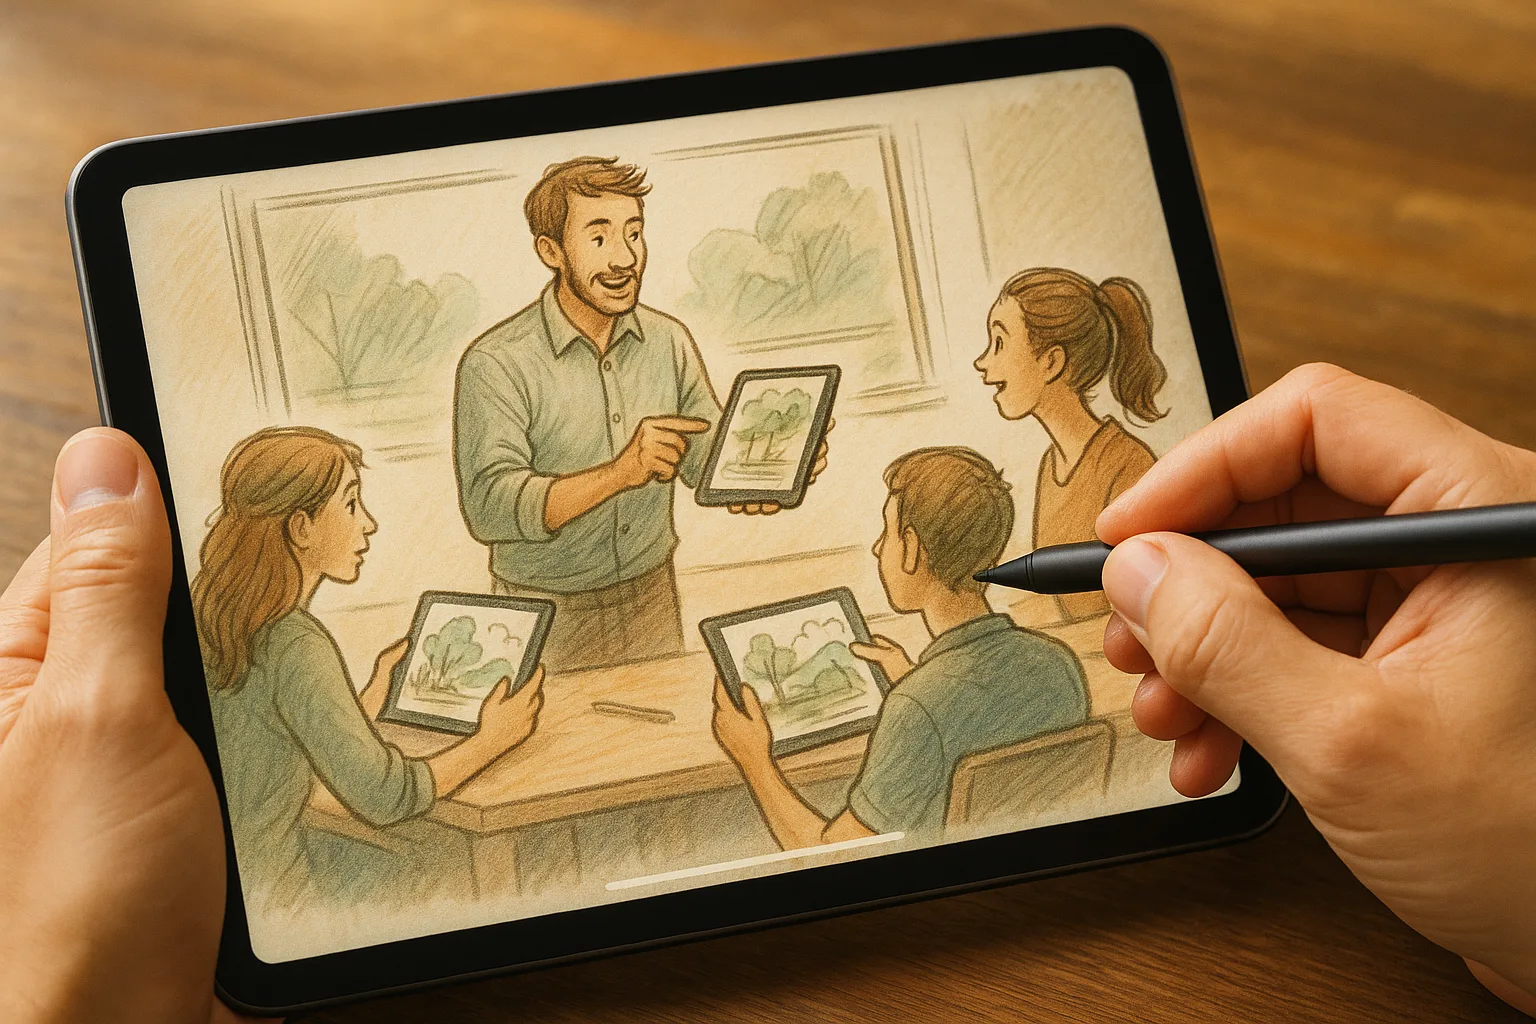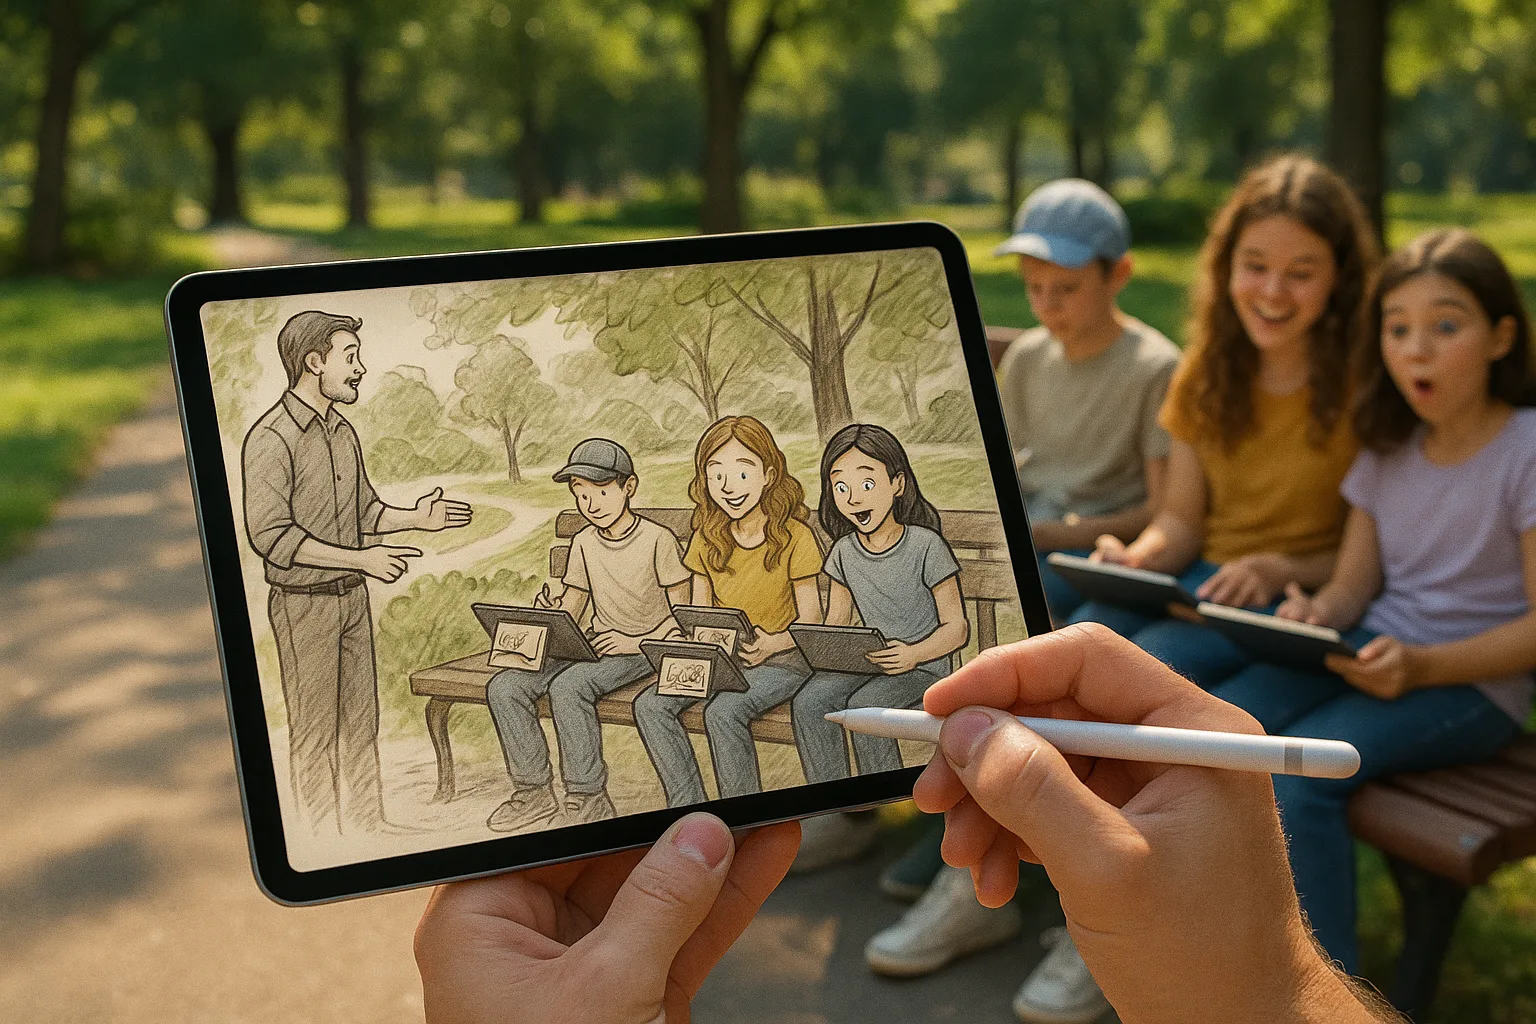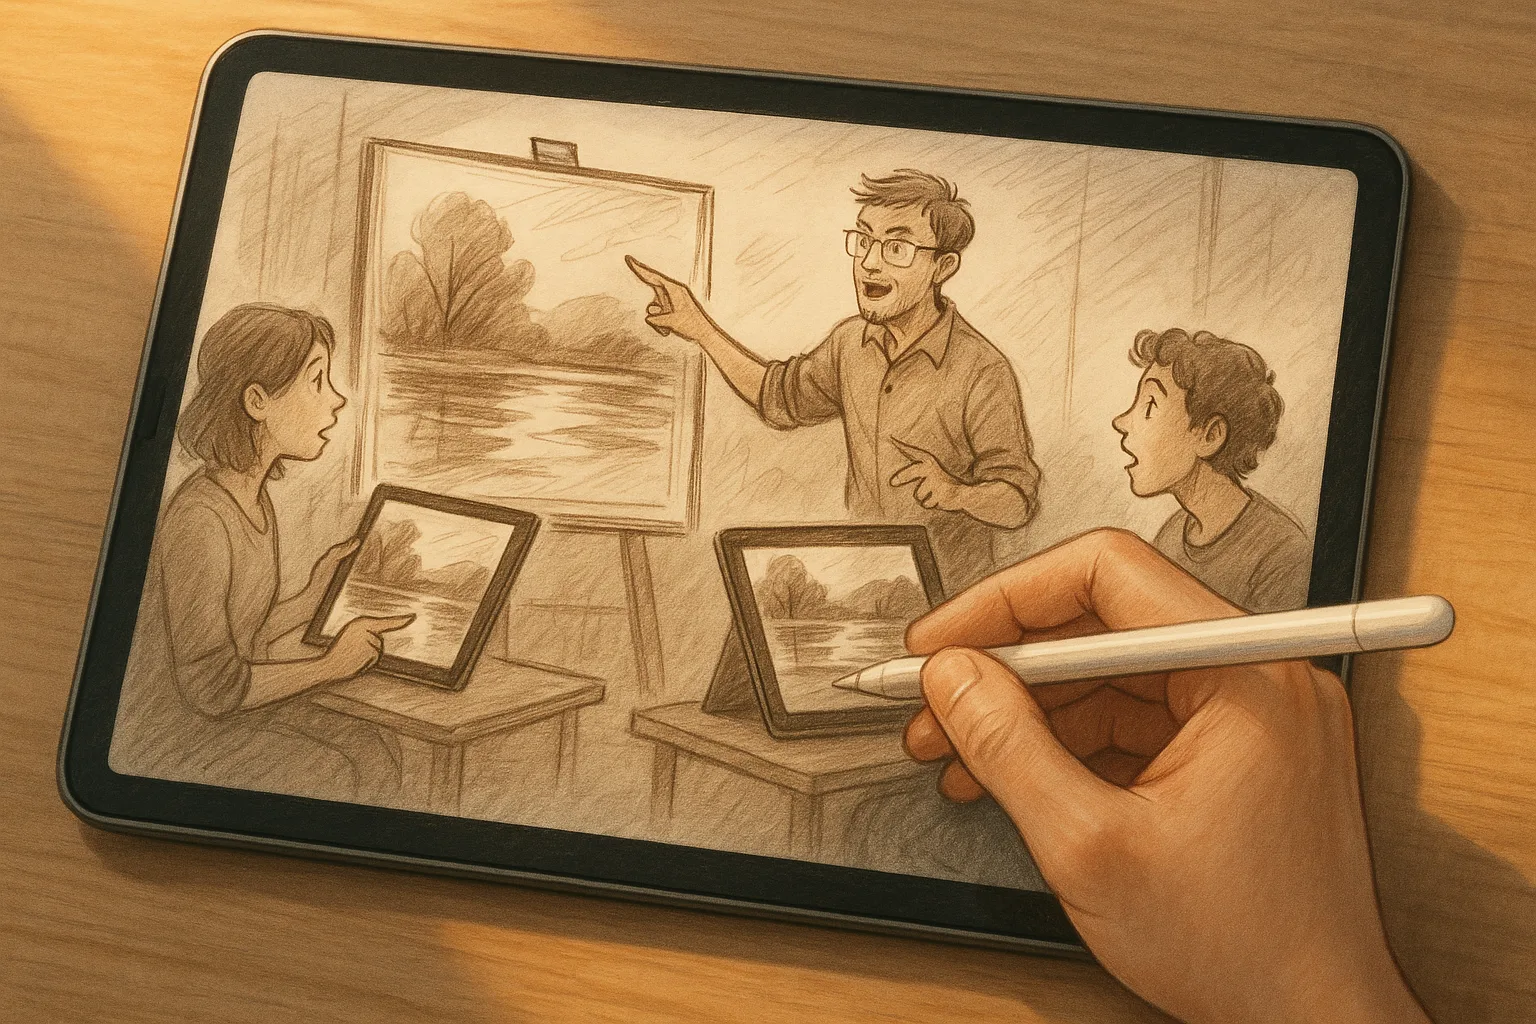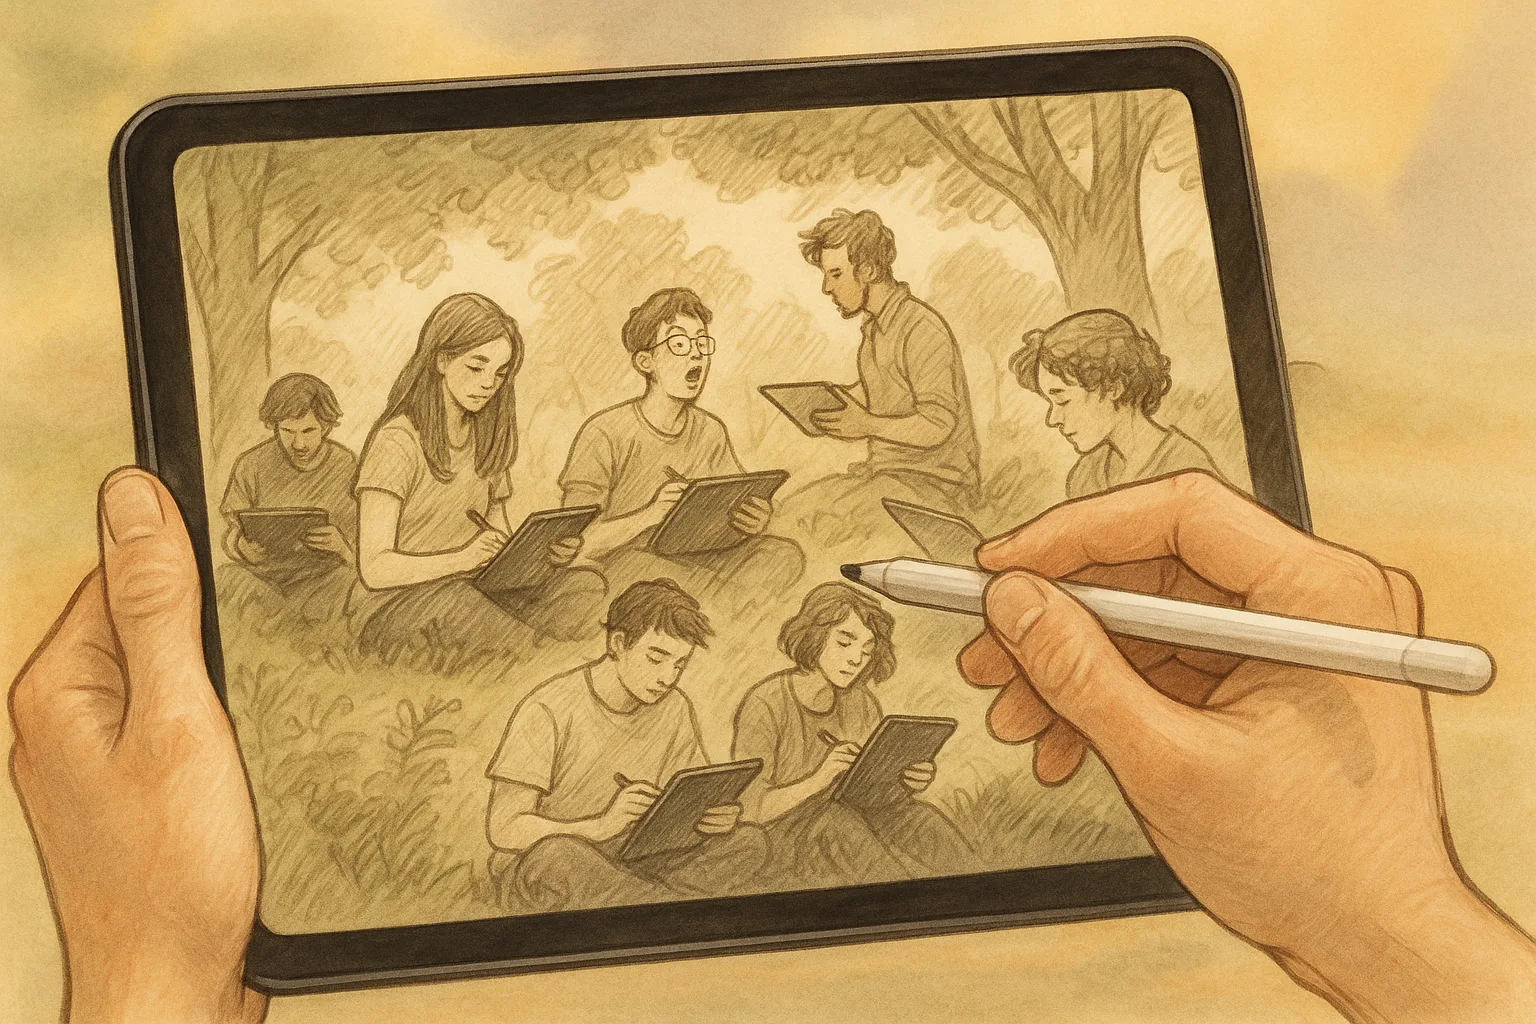
Why Samara is perfect for digital plein air sketching
Samara’s wide Volga views, the dramatic Samarskaya Luka bend and nearby Zhiguli hills give you strong shapes, clear horizons and seasonal color shifts — ideal for practicing composition, perspective and light. Using an iPad with Procreate lets you work quickly, experiment without waste, and finish or refine sketches later at home.
Quick checklist before you head out
— iPad charged (carry a powerbank) and Apple Pencil with spare nibs
— Lightning/USB-C cable and portable charger
— Protective case that doubles as a stand (angle for sun)
— Anti-glare screen protector or matte folio for bright sun
— Headphones, small cloth to clean screen, and a bag for comfort
— Offline map or screenshot of your chosen spot on the Samara embankment, Kuibyshev Square or Zhiguli foothills
— Permission for tripod/easel if you plan to set up in busy public spots
Best local spots to sketch
— Samara Embankment (Набережная): long river perspective, boats, promenades and people. Great for golden-hour light.
— Kuibyshev Square (Куйбышевская площадь): grand architecture and scale studies.
— Samarskaya Luka / Zhiguli Hills: rugged forms for dramatic silhouettes and atmospheric depth.
— Small parks and side streets near the historic center: intimate studies of trees, roofs and local color.
Canvas & Procreate setup (fast practical defaults)
— Canvas size: 3000–4000 px on the long edge at 300 DPI for print; 2048–2732 px for quick studies.
— Color profile: *Display P3* for vivid iPad work; convert to sRGB when exporting for web.
— Layers: create folders — 00-thumbnails, 01-sketch, 02-block, 03-details, 04-adjustments, 05-texture. Name layers as you go.
— Turn on Time-lapse Recording so you can share process later (Actions > Canvas).
— Enable Drawing Assist for perspective studies (Actions > Canvas > Drawing Guide > Perspective).
Recommended brushes & why
— Pencil (Sketching > 6B or HB) — fast gesture sketches and thumbnails.
— Technical/Studio Pen (Inking) — clean line work, adjust *Streamline* for steadier strokes.
— Soft Round or Flat Wash (Painting/Watercolor) — quick color blocking and washes.
— Grainy/Texture Brush (Textures) — add paper grain or rock/foliage texture.
— Smudge > Soft Brush — blend subtle gradients for sky and water.
— Eraser > Hard or Soft — for crisp edges or soft light.
Tip: Save a custom brushset for landscape work (pencil + wash + texture + detail pen) so you don’t fumble on location.
A simple on-site workflow (20–60 minutes)
1. Thumbnails (2–5 min)
— Do 3 small, fast compositions. Explore horizon placement, leading lines (embankment, river bend), and a focal point. Keep one with a strong foreground element (bench, tree, rock).
2. Rough sketch (5–10 min)
— Block in major shapes on a medium-opacity sketch layer. Use a large brush and confident strokes.
3. Perspective & horizon (2–5 min)
— Turn on Perspective Drawing Guide if the scene has clear vanishing points (river bend, roads). Snap major structural lines to the guide.
4. Block color (5–15 min)
— New layer under sketch: lay in local color shapes — sky, river, mid-ground, foreground. Use loose brushes; don’t paint details.
5. Refine & lighting (10–20 min)
— Add light and shadow (use a multiply layer for shadows, overlay/warm layer for sunlight). Push value contrasts to make distance recede — cooler, lighter, desaturated tones for far hills.
6. Details & texture (5–15 min)
— Add crisp edges and textural marks on a top layer. Use clipping masks and alpha lock for neat shading confined to elements.
7. Final tweaks & export (2–5 min)
— Apply small adjustments: Gaussian Blur for atmospheric depth, Curves for contrast, and