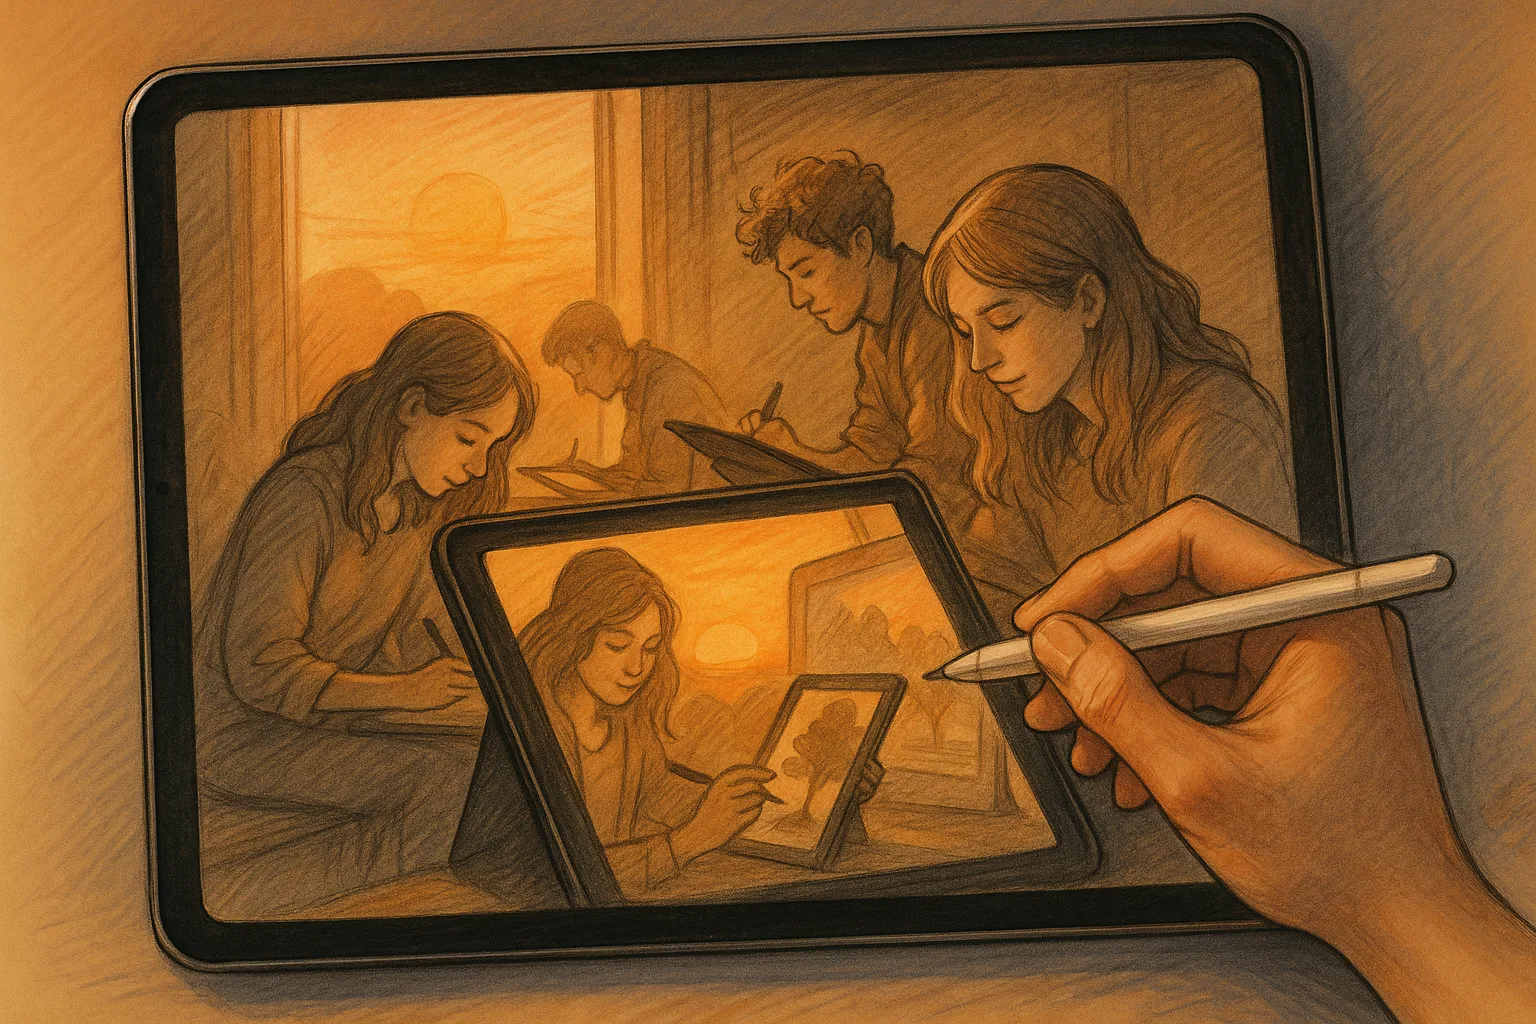
Why Samara is Perfect for iPad Landscape Sketching
Samara’s long Volga embankment, the sweeping Samara Bend, and the Zhiguli hills offer a rich variety of light, texture, and composition. From misty morning river scenes and bright summer sunsets to snowy urban panoramas, Samara gives you compelling subjects close to hand — ideal for quick plein-air studies or detailed studio pieces on your iPad.
Gear & Setup (What to bring)
— iPad (Pro recommended for larger canvases and more layers)
— Apple Pencil (1st or 2nd gen)
— Portable stand or case with angle support
— Small power bank if you sketch all day
— Light rain cover or sleeve for unpredictable weather
— Optional: portable Bluetooth keyboard for shortcuts
Procreate Basics — Quick Settings
— Canvas size: For screen/web use 3000–4000 px wide; for prints aim for 300 DPI at the target size (e.g., A3 3508 × 4961 px).
— Color profile: sRGB for web; choose CMYK-compatible workflow if printing commercially (export via PSD if needed).
— Layers: Sketch > Underpainting > Block Colors > Details > Highlights/Foreground. Use groups to stay organized.
— Gestures: two-finger undo, three-finger redo, pinch to zoom, hold for QuickShape (straight lines), color-drop to fill.
Essential Procreate Tools & Brushes
— Pencils: 6B Pencil / HB Pencil for quick, expressive sketching.
— Inking: Technical Pen or Studio Pen for clean linework.
— Block color: Round Brush or Gouache for flat shapes.
— Atmosphere & blending: Soft Airbrush, Smudge tool and Gaussian Blur.
— Texture: Chalk, Charcoal, or custom water/grass brushes for organic surfaces; Splatter for foliage and grit.
— Water & reflections: Watercolor or Wet Mix brushes plus low-opacity textured brushes.
— Other features: Drawing Guides (Perspective), Reference Companion (drag in a photo), Clipping Masks, Alpha Lock, Blend Modes (Multiply, Overlay), and Time-lapse export.
Practical Workflow — Step by Step
1. Capture or choose a reference
— Shoot quickly on location: 3–4 composition shots (wide, mid, tight) and one detail shot (trees, brick, water texture).
2. New canvas & import reference
— Create a canvas appropriate for final use; open reference in Procreate’s Reference view.
3. Quick thumbnail studies (1–3 minutes each)
— Block out 2–4 thumbnails to test composition and horizon placement (rule of thirds, strong foreground element for depth).
4. Loose sketch layer
— Use a pencil brush to lay in major shapes: horizon, major buildings, hills, large trees, water plane. Keep lines light and gestural.
5. Underpainting / value block-in
— Add a layer beneath the sketch and block the main values: dark, mid, light. Work large shapes without detail. Use Multiply for shadow layers.
6. Color blocking
— On a new layer, place local color with a round or gouache brush. Don’t worry about edges yet.
7. Refine shapes & perspective
— Use Drawing Guides (1- or 2-point perspective) to align buildings, embankment rails, and riverbank curves (Samara Bend).
8. Add atmosphere & reflections
— Soften distant hills with desaturated colors and low opacity airbrush. For the Volga reflections, duplicate color layer, flip vertically (if needed), apply motion blur/gaussian blur, then lower opacity and add horizontal strokes with textured brush.
9. Detail & texture
— Add foliage texture, gritty embankment stones, boats, and people with smaller brushes. Use splatter and charcoal sparingly for realism.
10. Final adjustments
— Use Adjustment tools: Color Balance to tweak mood (cool for misty mornings, warm for sunsets), Curves for contrast, Noise to unify texture. Add final highlights and rim light.
11. Export
— Export as PSD for layers, PNG for crisp web, JPEG for smaller files, and save a Time-lapse MP4 for sharing process.
Tips for Painting the Volga & Local Light
— Emphasize horizontal rhythm: water reflections, embankment steps and railings create strong horizontal lines—use them for visual flow.
— Haze & distance: Zhiguli hills will often appear bluish/desaturated—push them back with cooler, lower-contrast colors.
— Warm sunsets: Use warm oranges and magentas near the horizon and cooler shadows on the water. Try Overlay or Screen layers to intensify glow.
— Snow scenes: Avoid pure white; use subtle blues, violets, and warm reflected light for variety.
— Boats & human scale: Add small boats or walkers on the embankment to give scale and local atmosphere.
Plein-Air vs. Studio Workflow
— Plein-Air (on location)
— Keep canvas small and layers few. Focus on composition, value, and color impression. Capture reference photos for details later.
— Studio (from photos)
— Use higher resolution, more layers, and spend time on textures and refinement. Combine multiple reference photos for composite compositions.
Sample Brushes & Settings (starting points)
— 6B Pencil (Opacity 60–80%) — sketching
— Studio Pen (Size 3–8%, Streamline 30–60) — clean lines
— Soft Airbrush (Opacity 20–50%) — atmosphere
— Gouache (Opacity 80–100%) — block color
— Charcoal / Texture (Opacity 20–60%) — ground and tree texture
Experiment with flow, opacity, and brush jitter to mimic traditional marks.
Composition Ideas Around Samara
— Volga Embankment at sunrise — low sun, long reflections, early fishermen silhouettes.
— Samara Bend viewpoint (Zhiguli direction) — wide sweep, layered hills and river curve.
— Kuibyshev Square & Stalin-era faç