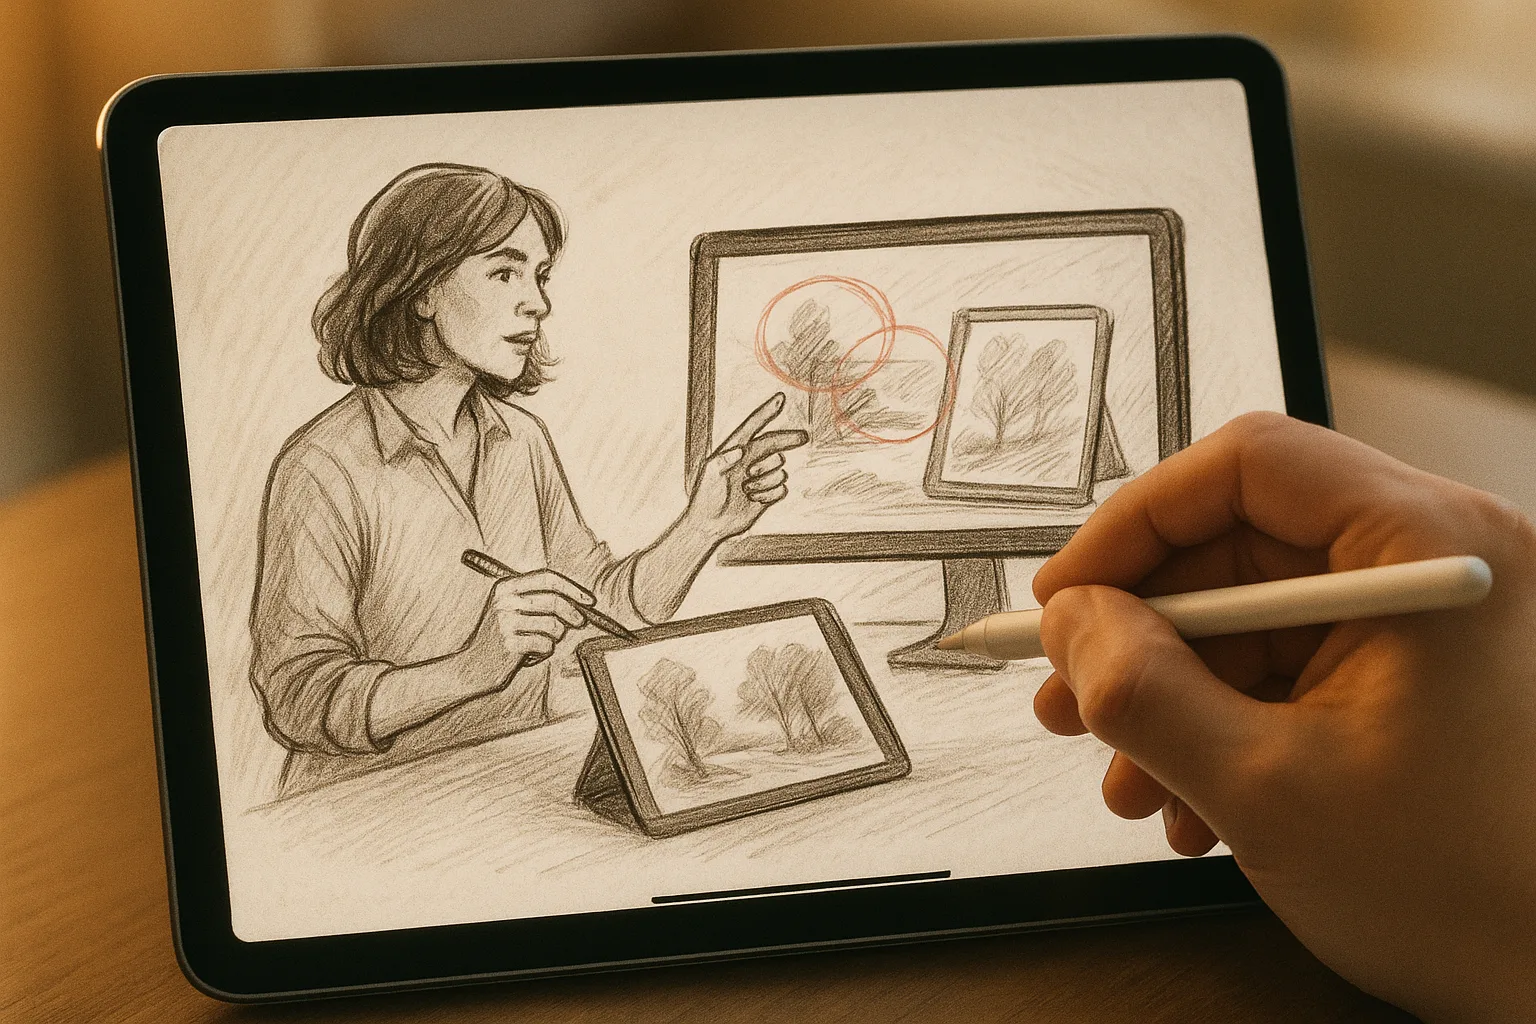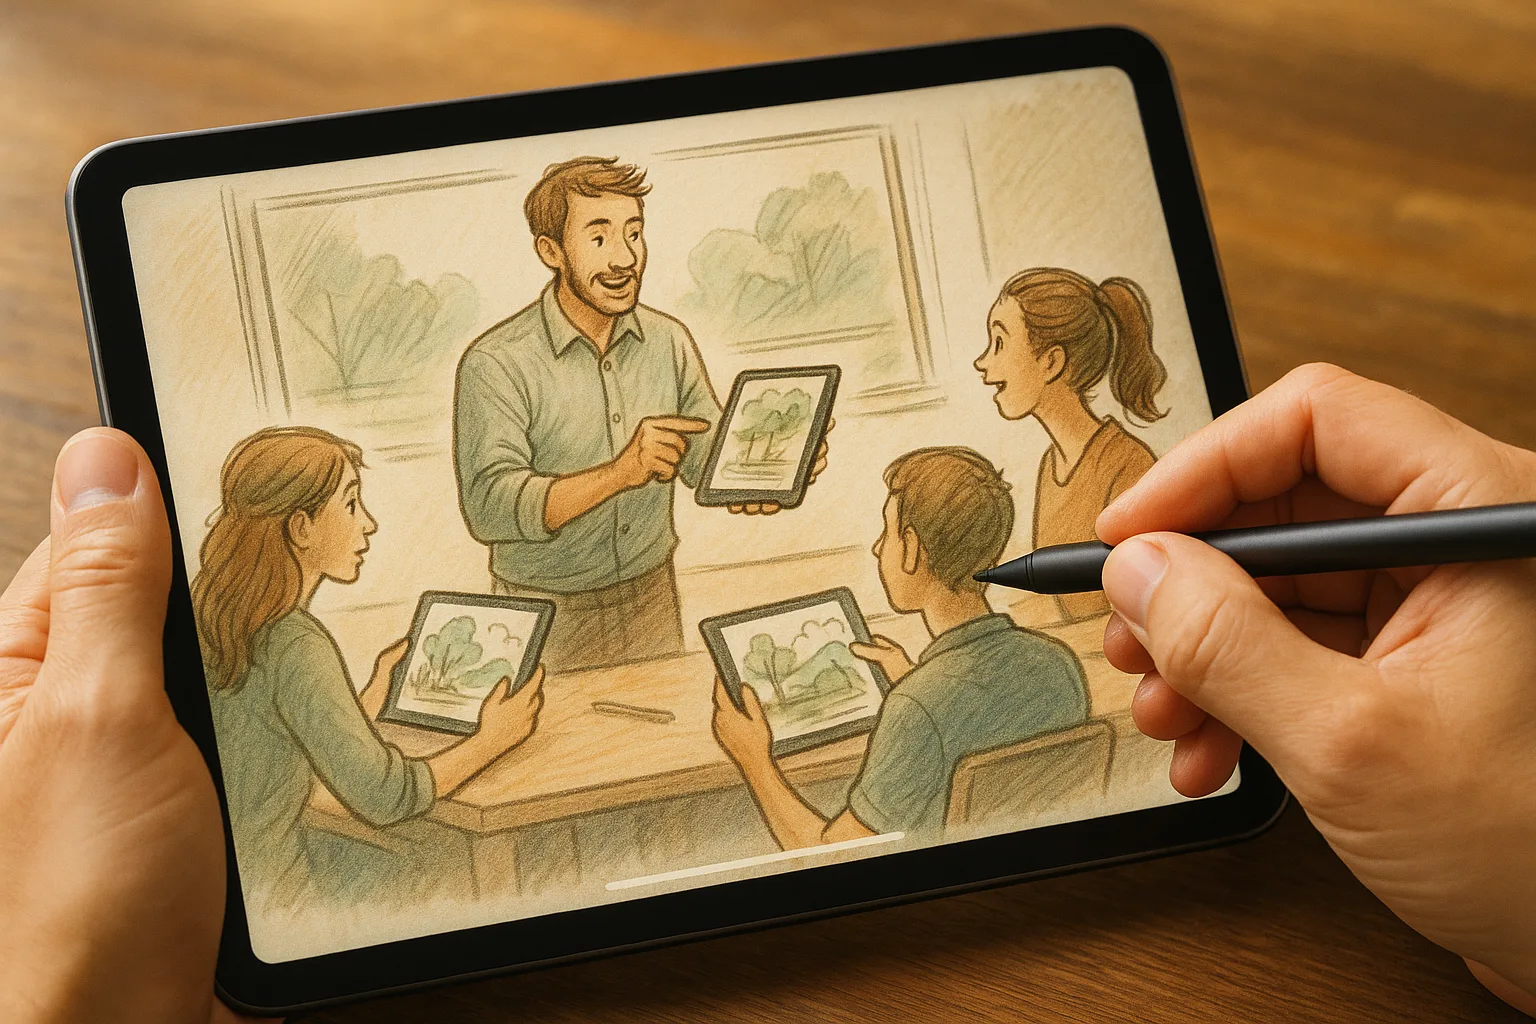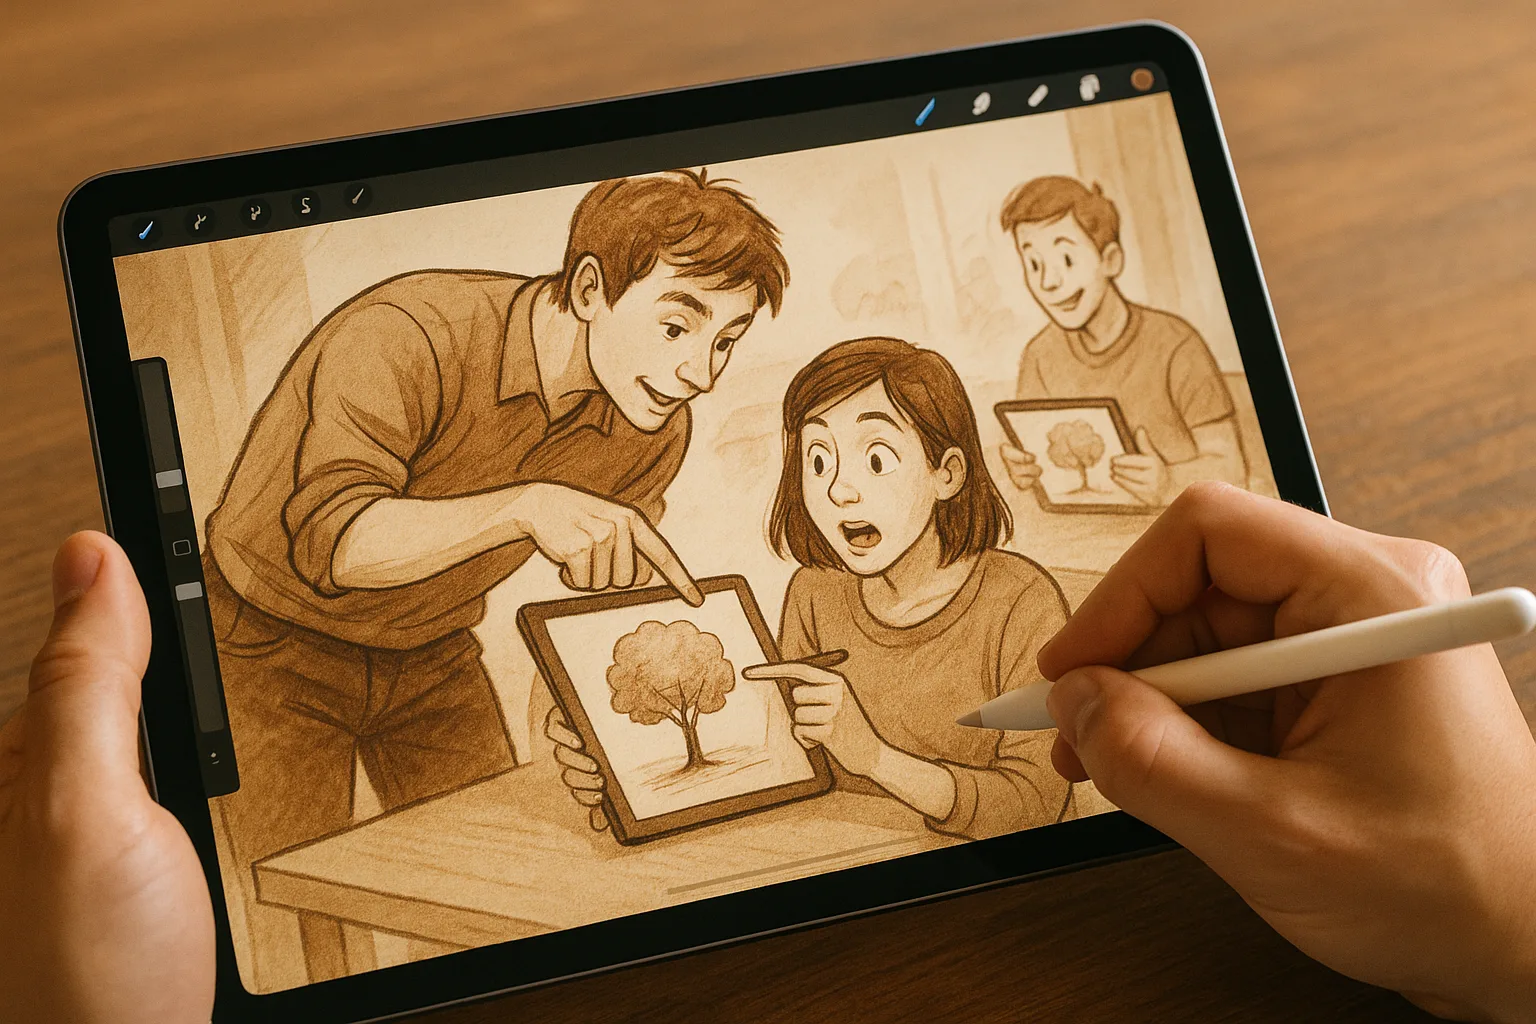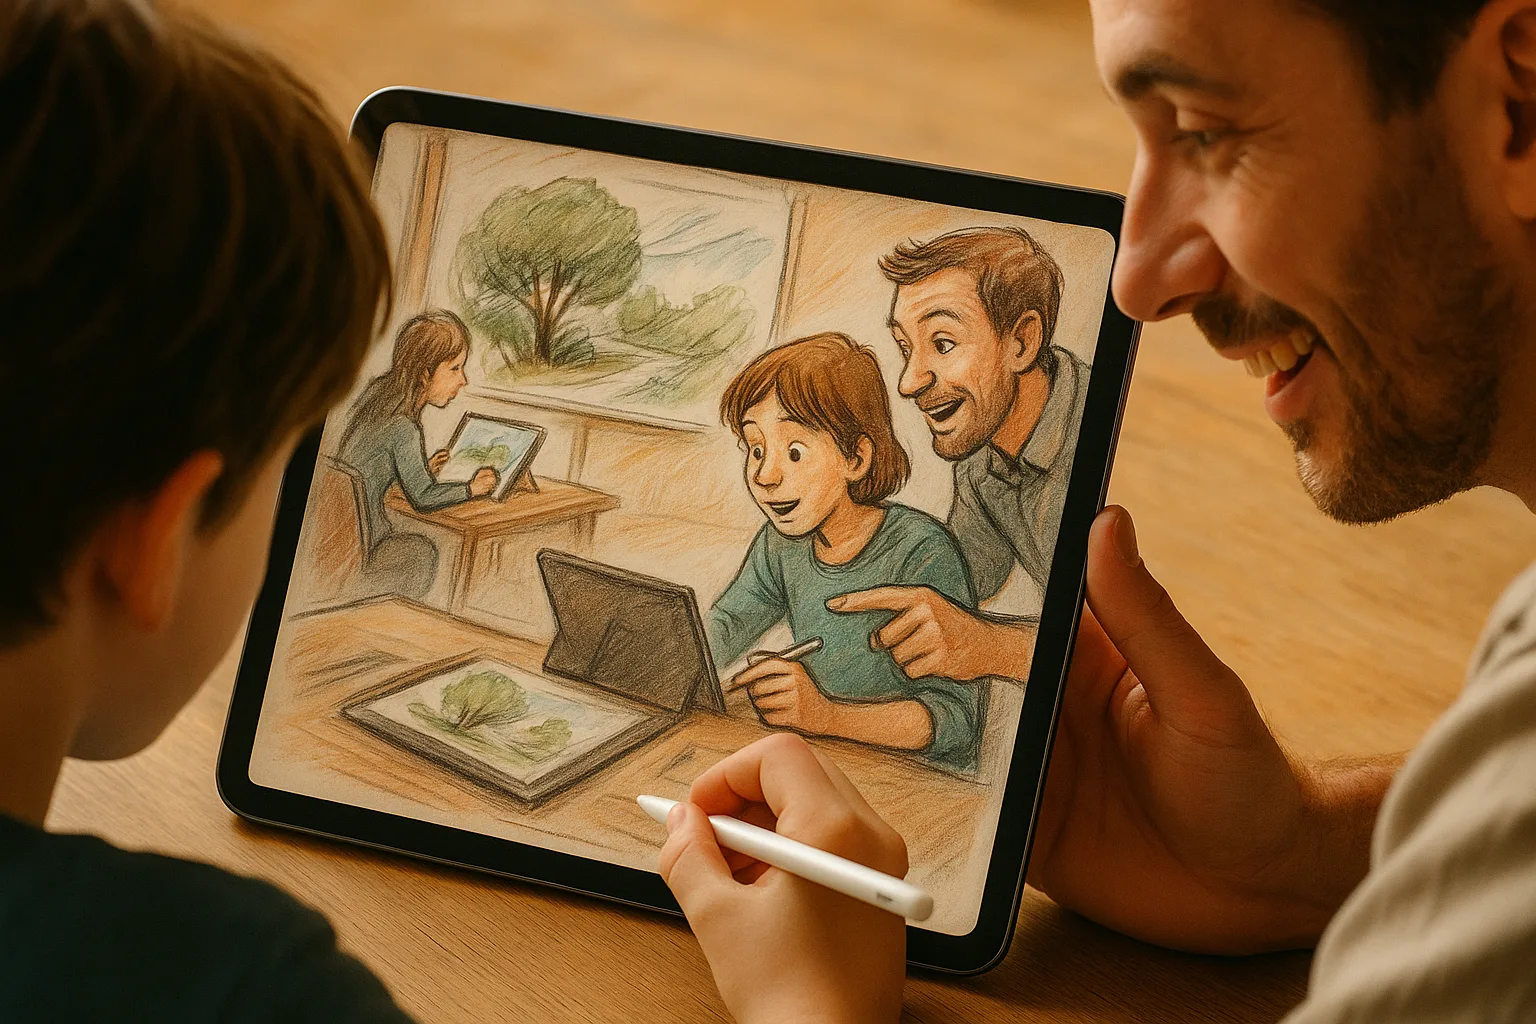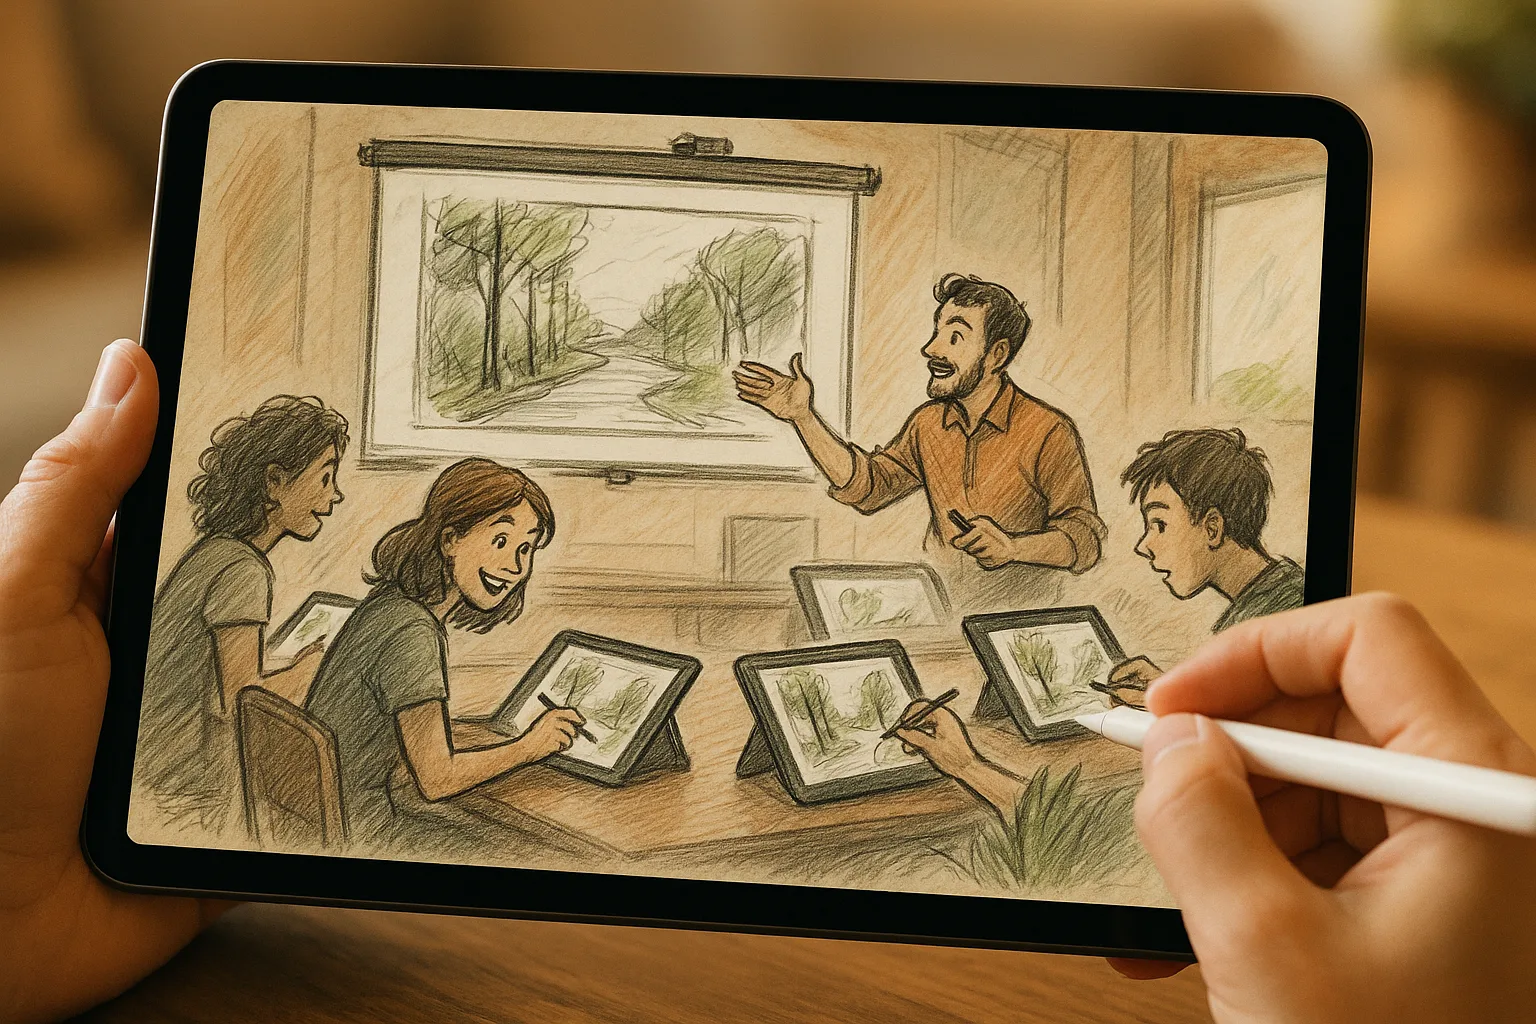
Why use iPad + Procreate for landscape sketching in Samara
Procreate gives speed, flexibility and a familiar tactile feel (especially with a paperlike screen) while you work on-location or from photos. In Samara — with its Volga embankments, curved river views, classical squares and hilltop panoramas toward the Zhiguli range — iPad sketching lets you capture changing light quickly, experiment with colors, and finish or refine later without losing what drew you to the scene.
Field kit (what to bring)
— iPad (any recent Air/Pro or Mini with sufficient battery) and Apple Pencil (1st or 2nd gen).
— Protective sleeve / small tripod or clamp + lightweight stand.
— Portable charger / cable.
— Microfiber cloth and spare Pencil tip.
— Optional: paperlike screen protector for better friction.
— Small notebook for quick notes, plus a camera/phone for extra refs.
Best Samara spots for landscape sketches (quick ideas)
— Volga Embankment (Volzhskaya Naberezhnaya): long river curves, boats, soft sunsets — ideal for *golden hour* color studies.
— Samara Bend viewpoint (near Zhiguli cliffs): sweeping panorama of river and opposite banks.
— Kuibyshev (Kuybyshev) Square and Lenin/Sovetskaya area: architecture, streetscapes, dramatic shadows.
— Samara Academic Opera & Ballet Theatre and nearby streets: interesting rooflines and urban composition.
— Little harbors and riverside cafes: foreground interest (boats, people) plus water reflections.
Canvas & file settings (practical defaults)
— For quick plein-air sketches: 2048–3000 px on the longest side, 150–300 DPI (keeps performance snappy).
— For prints: 4000–6000 px at 300 DPI.
— Use Procreate’s PSD export if you plan to continue in Photoshop or share layered files.
Workflow: from scene to finished sketch
1. Quick thumbnails (1–3 minutes each)
— Do small, 3–4 thumbnail sketches to test composition and values.
2. Choose a canvas and import a reference photo if necessary
— Use Reference > Needs > Canvas or import a photo to a reference window rather than painting directly onto it.
3. Block in values and large shapes (10–20 minutes)
— Use a textured round or flat brush with low opacity to quickly map darks, midtones, lights.
4. Refine forms and add mid-level details (20–40 minutes)
— Switch to a sketching pencil (e.g., 6B) for line work or a Studio/Technical pen for crisp lines.
— Use layer groups and name layers (foreground/midground/background).
5. Add color and atmosphere
— Start with broad color fills on separate layers under your line/value layer.
— Use soft airbrushes for atmospheric gradations; lower opacity for distance haze.
6. Textures and small details
— Add texture brushes (grit, leaf, grit splatter) selectively for foliage, stone, water ripples.
— Use blend modes (Multiply for shadows, Overlay for warm light) to deepen impression.
7. Final adjustments and export
— Apply subtle Gaussian Blur to background layers for depth.
— Tweak overall color with Curves, Hue/Saturation, and add a light vignette if desired.
— Export as PNG/JPEG for web, PSD or TIFF for editing/printing, and export Time-lapse for a process video.
Procreate tools and tips that matter
— Apple Pencil: use pressure for stroke weight and tilt for shading where supported.
— Layers: keep at least three main layers (background, midground, foreground). Use clipping masks and Alpha Lock to paint inside shapes cleanly.
— Drawing Guide & Perspective Assist: enable 1-, 2-, or 3-point perspective to correct architecture on Kuibyshev Square or riverside piers.
— QuickShape: draw perfect circles/straight lines for architectural elements, railings, etc.
— Eyedropper: hold to sample colors from the scene or photo.
— Two-finger tap = undo; three-finger tap = redo (save time).
— Streamline: use for smoother inking/linework if you like clean contours.
— Smudge tool: soft-smudge for sky gradients and water reflections, choose a soft brush preset.
— Time-lapse recording: enable it in Canvas settings to create shareable process videos.
Brush suggestions
— Sketching: 6B Pencil / HB Pencil for looser lines.
— Inking: Studio Pen or Technical Pen for clean edges.
— Blocking/painting: Round Brush or Flat Brush with medium opacity.
— Atmosphere: Soft Airbrush for haze and sky transitions