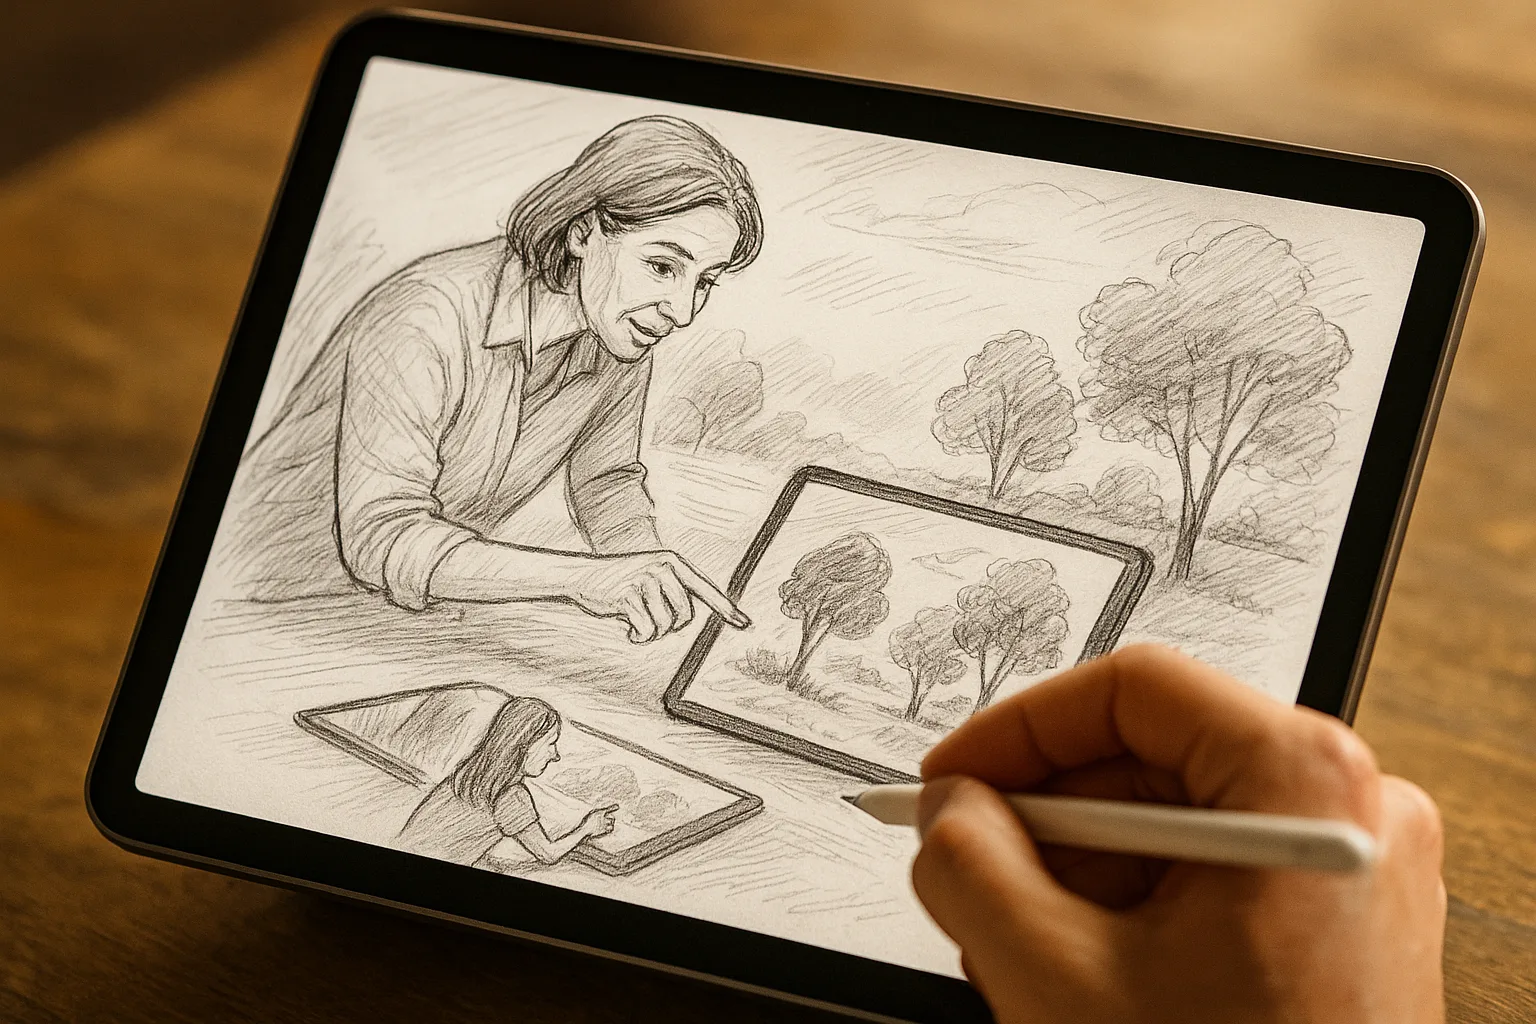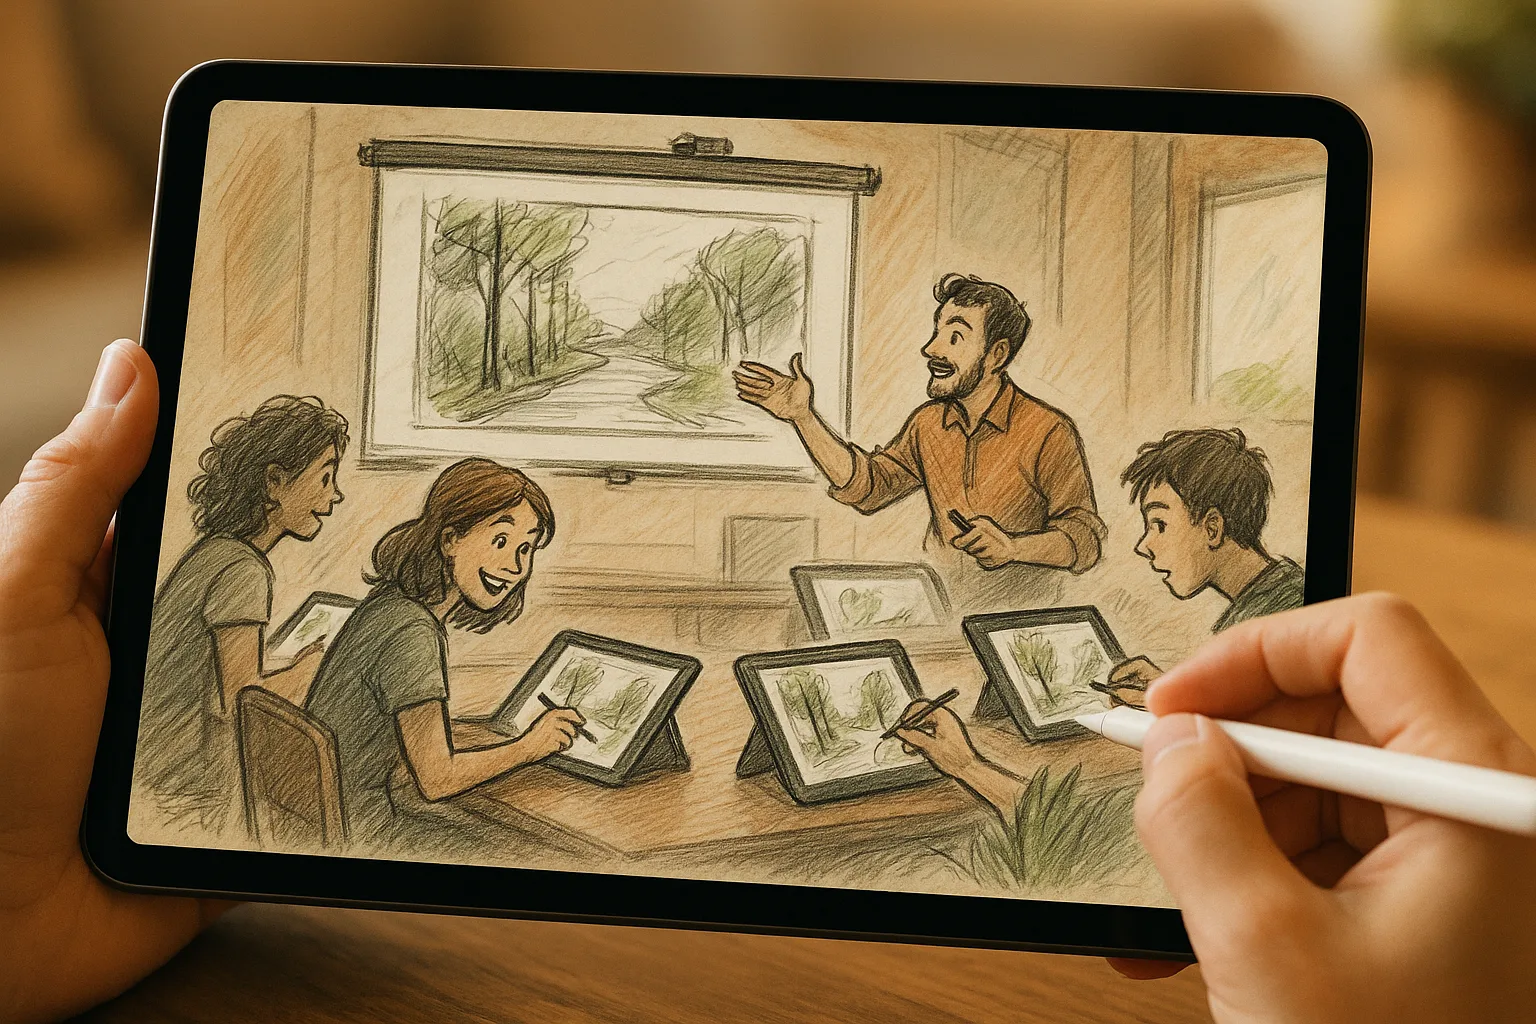
Introduction
Samara’s broad Volga vistas, amber embankments and rolling Zhiguli hills make it a dream for landscape sketching. Using an iPad and Procreate lets you capture shifting light quickly, experiment without fear, and produce polished artworks on location. Below are practical, place-aware tips and a streamlined workflow to help you make the most of sketching landscapes in Samara.
Why Samara is Ideal for iPad Plein Air
— Long horizons on the Volga — excellent for practicing perspective and atmospheric depth.
— Varied subjects within short distances: embankments and promenades, birch groves, red-brick buildings, and the Zhiguli ridgeline across the river.
— Frequent golden-hour opportunities (sunrise over the water, warm light at sunset).
— Urban amenities for quick battery top-ups: cafes along the Naberezhnaya.
Essential Gear Checklist
— iPad (iPad Pro recommended for ProMotion and color accuracy).
— Apple Pencil (2nd generation preferred for double-tap shortcuts, but any Pencil works).
— Lightweight stand or folio case that props the iPad at an angle.
— Portable charger / power bank.
— Small microfiber cloth for screen cleaning.
— Optional: a simple sunshade or hood to reduce glare when sketching on the embankment.
Procreate Setup: Canvas & Preferences
— Canvas size: start at 3000–4000 px on the longest edge for screen and social use. For prints, set 300 DPI at intended print dimensions (e.g., 3000×2000 px at 300 DPI for small prints).
— Color profile: sRGB for web; choose Adobe RGB or ProPhoto for advanced printing workflows.
— Turn on Timelapse for instant time-lapse exports (great for sharing progress).
— Enable Gesture shortcuts you like (two-finger tap to undo, three-finger to redo, etc.).
Brushes & Tools to Keep on Your Quick Menu
— Pencil (6B or Technical Pencil) — for initial sketching.
— Large Round Brush / Soft Airbrush — for blocking masses and atmospheric gradients.
— Gouache or Acrylic (Procreate Studio / Painting set) — for opaque local color.
— Watercolor or Wet Brush — for loose washes and edge blending.
— Texture/Grain brush — for grit on sand, brick, leaves.
— Eraser set to Pencil or Soft Brush.
— Smudge tool with low strength for subtle blending.
Set up a QuickMenu with your go-to brushes and taps to switch brushes quickly while on location.
A Practical 45-Minute Plein-Air Workflow
1. Quick site read (3–5 min)
— Choose viewpoint (promenade bench, birch clearing, viewpoint on the Volga).
— Decide the mood (dramatic clouds, calm water, late-afternoon glow).
2. Composition & Thumbnails (5 min)
— Make 2–3 tiny thumbnails (value/shape focus). Use rule-of-thirds and strong foreground element (rocks, railing, tree).
3. Loose Sketch (7–10 min)
— Use a light pencil brush. Block main shapes and horizon line. Establish vanishing point(s) if needed.
4. Block in Colors & Values (10–12 min)
— On a new layer, add large color masses: sky, water, middle distance, foreground. Work with low-opacity brushes for quick layering.
5. Refine & Textures (8–10 min)
— Add medium details: reflections, tree masses, building edges, embankment textures. Use texture brushes for sand and brick.
6. Final Pass & Adjustments (5 min)
— Add highlights, sharpen focal areas, apply subtle color balance or Curves on an adjustment layer. Export timelapse if you recorded it.
Layer Strategy (simple and effective)
— Layer 1: Thumbnail / rough sketch (multiply or 40% opacity).
— Layer 2: Clean line (optional, keep low opacity).
— Layer 3: Flats / big color blocks.
— Layer 4: Local details and edgework.
— Layer 5: Textures and atmosphere (air, mist, river sheen).
— Top: Adjustment layers (Curves, Hue/Saturation), vignette or color lookup.
Use clipping masks and alpha lock to color within shapes quickly.
Composition & Perspective Tips for Volga Scenes
— Emphasize the horizon — keep it steady. For dramatic depth, lower the horizon to show expansive sky.
— Use foreground elements (bench, grasses, railing) to lead the eye into the river and Zhiguli hills.
— Turn on Procreate’s Drawing Guide → Perspective and set 1-point or 2-point for architectural embankment lines. Use vanishing point on the river edge.
Color Palettes Inspired by Samara
— Volga Blues: deep cool blues for water midtones, desaturated turquoise for reflections.
— Embankment & Sand: warm ochres, light sandy beige.
— Foliage: spring birch greens to warm late-summer olive.
— Warm sunsets: burnt orange, warm pinks, soft mauves for sky.
Create a small palette swatch in the Procreate color panel so you can reuse harmonies.
Lighting & Timing
— Golden hour (sunrise/sunset) gives warm contrast and long shadows — ideal for dramatic sketches.
— Midday is harsher but great for color studies and reflections.
— Windy days on the river: reduce detail in water; use more gestural strokes to express motion.
Practical On-Site Considerations
— Keep an eye on people and bikes along the embankment — quick compositions help when subjects move.
— Respect local rules: public spaces in Samara are generally fine for sketching, but ask permissions if you’re on private property or guided areas.
— Protect your device from sudden weather changes—waterproof pouch or quick pack for rain.
Post-Processing & Export
— Use Adjustment layers: Curves for contrast, Color Balance for mood, Noise/Gr