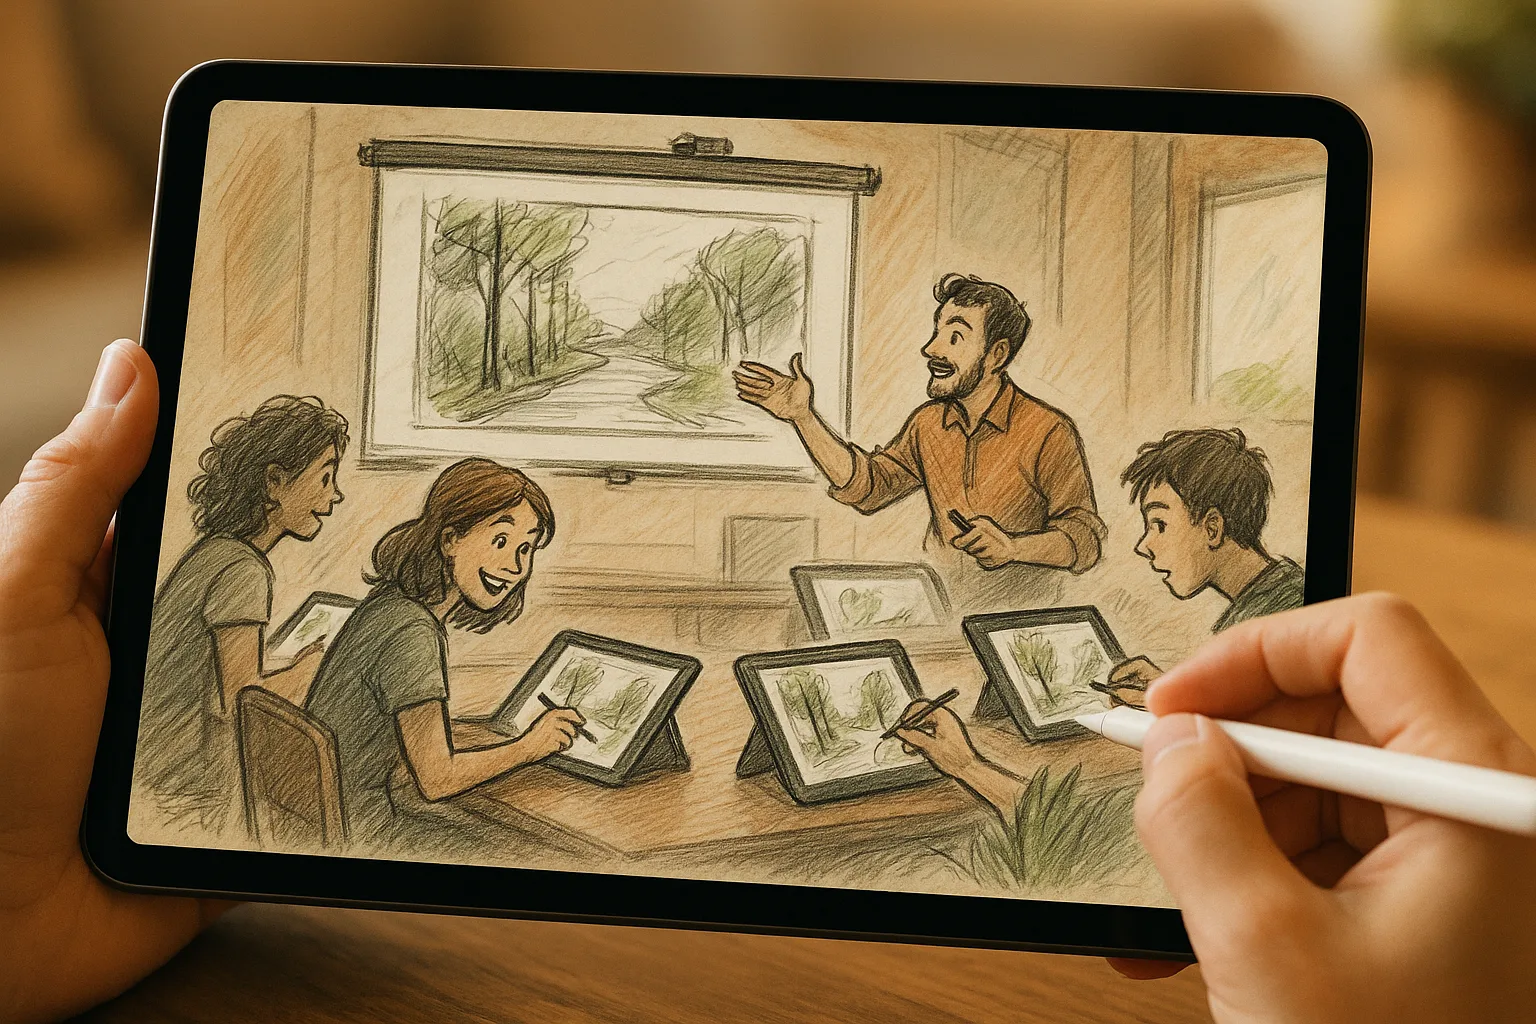
Why Samara is perfect for digital landscape sketching
Samara sits on the Volga’s broad curve, with the Samara Bend and Zhiguli (Samarskaya Luka) hills framing dramatic river views, long embankments, historic streets and seasonal contrasts — all excellent subjects for quick studies or finished digital paintings. Procreate + iPad lets you do plein-air sketches, develop ideas from photos, and produce print-ready artworks with one portable kit.
Quick gear checklist for plein-air sketching
— iPad (Pro recommended) with enough battery (or portable charger)
— Apple Pencil (tips: pressure + tilt for expressive lines; double-tap on Pencil 2 to switch tools)
— Light, foldable stand or lap desk
— Weather-appropriate clothing; small umbrella for shade/rain
— Small power bank, lens cloth, and a folder for reference photos/permits
Canvas and file settings
— For quick studies: 2048–2732 px on longest side, 72–150 dpi (faster, less battery)
— For prints: 4000–6000 px on longest side, 300 dpi (or higher if you plan big prints)
— File type: Procreate (.procreate) for editable files; export PNG for web, TIFF/PSD for high-quality prints/workflow
— Enable Time-lapse in Procreate to capture process for social sharing
A practical 6-step workflow
1. Plan with thumbnails
— 2–6 small thumbnails on one canvas to test compositions (river bend, embankment leading lines, foreground reeds).
2. Set up guides & perspective
— Use Drawing Guide → Edit Drawing Guide for 1- or 2-point perspective when drawing embankments, streets, or boat docks.
3. Rough sketch (Layer 1)
— Use a light, loose pencil brush (e.g., Sketching → 6B Pencil). Focus on main shapes and horizon placement.
4. Block in color (Layer 2, underneath sketch)
— Use a soft round or flat brush to establish large color masses: sky, water, distant hills, foreground.
5. Refine and detail (Layers 3+)
— Add midground detail (boats, piers, birches, buildings), then finish with crisp line work and texture in foreground.
— Use clipping masks and Alpha Lock for clean local adjustments.
6. Final adjustments and export
— Color Balance / Curves to push mood, add grain or vignette subtly for atmosphere, export in desired format.
Brush recommendations and settings
— Sketching: 6B Pencil (default) — low opacity (30–60%), size varies with zoom.
— Inking/Line work: Technical Pen / Studio Pen — streamline 20–60% for steady lines.
— Soft shapes & blocking: Round Brush or Soft Airbrush — low hardness, 60–90% opacity for base.
— Water & reflections: Water/Watercolor brushes (or Wet Acrylic) — lower opacity, smudge for blur.
— Texture and foliage: Charcoal, Grain, or custom scatter brushes — vary size and opacity.
— Finishing details: Small textured brush for reeds/grass and a small hard brush for highlights.
Suggested streamline ranges:
— Fast contour lines: 10–30% (keeps energy)
— Clean architectural lines: 40–70%
Layer strategy
— Layer 1: Thumbnails/sketches (keep or hide)
— Layer 2: Final sketch (low opacity)
— Layer 3: Color block (separate layers per plane: sky, water, hills)
— Layer 4: Midground details (buildings, boats)
— Layer 5: Foreground textures (reeds, rocks)
— Layer 6: Highlights & final accents
— Top layer: Adjustment layer (Curves, Hue/Saturation) and grain/vignette
Composition tips specific to Samara scenes
— Use the Volga’s curve as a leading line — place it so it guides the eye toward focal points (bridge, lighthouse, mountain massif).
— Emphasize atmospheric perspective for the Zhiguli hills: desaturate and cool colors with reduced contrast for distant forms.
— Foreground interest: reeds, river stones, a moored boat or pier post create depth.
— Horizon placement: lower third for dramatic skies/sunsets on the embankment, higher for intimate river studies.
— Capture motion: include passing ferries or moving clouds; use directional brushstrokes for water flow and wind in grass.